
This is a project I have wanted to tackle since we moved in, but it just seemed too overwhelming. I invite you to take a look back at my previous kitchen post to refresh your memory of how it looked. I thought that everything needed to be changed, and it would all be a domino affect resulting in a gutted kitchen and far too many $$ dollar signs. Then I thought maybe I should try to just paint it, but couldn’t decide on and commit to a color. Plus, I just wasn’t happy with the cabinets, but the daunting task of painting them was a prospect that kept me shying away from the project all together.
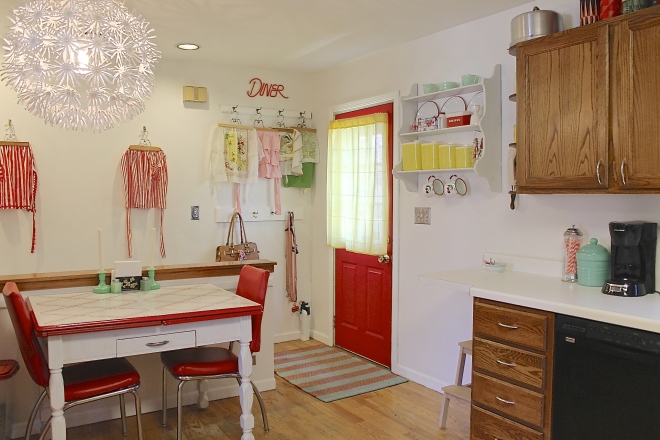
As the 2015 New Year holiday approached I was suddenly struck with motivation. The notion of a “fresh start” was at the forefront of everyone’s minds, and I decided that it was time to make a change. I wanted a clean slate for the kitchen, so I decided to go with white. Fresh white ceiling, clean white walls, crisp white trim. I enlisted the help of a few of my amazing friends and family to devote one day of their long holiday weekend to a major workout in my kitchen. It was not an easy job, but we managed to get about 75% of it done. That last 25% stretched out over the coming week or so, specifically the ceiling and the trim. This is the part where having an unbelievable patient and tolerant husband became my biggest asset. This project was my crazy, spur-of-the-moment idea that I dragged him into and now our kitchen was a mess of rags, rollers, and plastic sheets, not to mention all the furniture pushed to the center of the room. Yes, the home stretch was the toughest part of the painting journey, but every step of the way none of us could seem to stop exclaiming “this looks so much better!” The work was worth it, and the result was a better than expected transformation.
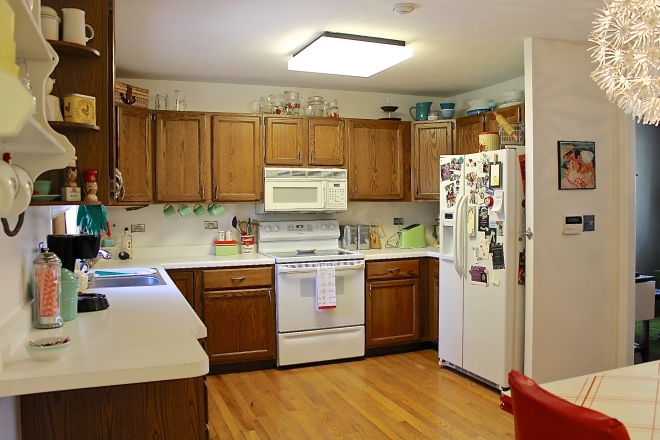
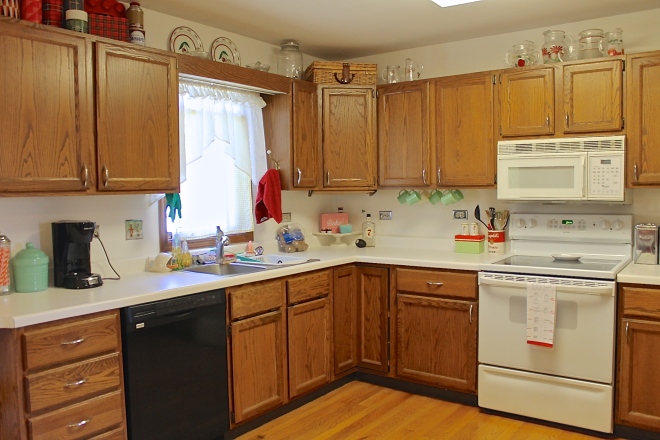
Never underestimate what painting the walls can do for a room. I feared that the bright white paint could end up accentuating other areas in need of an update, but it did just the opposite! Suddenly the cabinets seemed less dark and dingy, the counter seemed newer, and the overall yellow haze that had saturated the room was lifted. Everything just looks cleaner.
(Let me make a side-note here to talk a little bit about painting prep and equipment. First of all, choosing a white paint is hard. I would say it is harder than picking out any other color of paint, so be prepared and set aside time. The other big learning curve for this project came from my bright idea to try out a painting tool I had never used called the HomeRight EZ Twist Paint Stick. This is basically a roller attached to a pole which holds the paint inside of it to dispense as you go, eliminating the need for a tray and designed to cut down your painting time. I thought it would be particularly helpful to use on the ceiling. I read reviews. I watched videos. It turned out to be a bad choice for this project, and here is why; I am only 5’1″, my ceiling is 8′. Though I could easily reach the ceiling with the length of the pole, my center of gravity was still too low for me to get the leverage I needed to accurately push the roller to evenly dispense the paint, plus, the added weight of the paint filled tube tired my arms out too quickly. If you are of a more average height and have good upper body strength, this tool might actually be helpful, but it is still a lot of extra work to clean up. In my opinion, just stay away from fancy gadgets and stick with the classic equipment. )
So, now you are wondering, if I painted the kitchen in January, why am I just now showcasing it here? While I often set my mind to large projects and tackle them in a timely manner it is often those little details that I get hung up on that tend to drag things out. Even since I took photos there are a few little things I have tweaked or am in the process of fixing but for goodness sake, it is May already! I just had to stop making excuses.

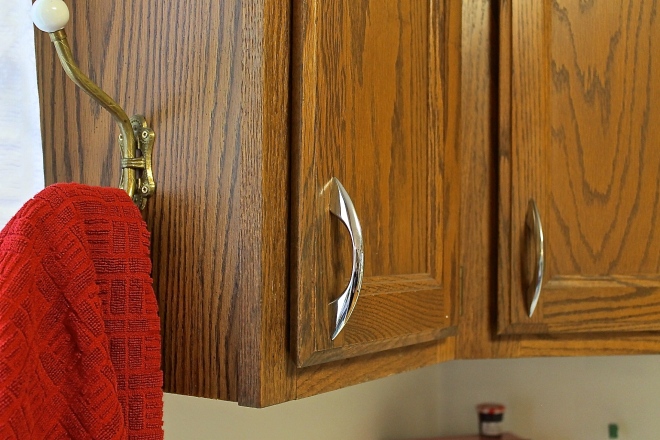
We added cabinet hardware where there was none before. A very subtle change that, in my opinion, makes a huge difference in functionality on a daily basis. We chose chrome pulls that were salvaged from a 1950s kitchen, which turned out to be another challenge because they did not match up with standard size drilling template we bought. It just made for more hardware store trips, marking, measuring, and margin for error on our part. Once again, a project that dragged out for too long, but sometimes you have to go the extra mile to get those details just right.
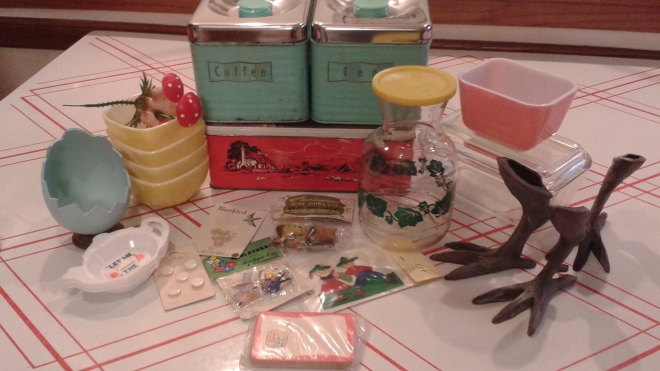
I have to laugh when I think about the cycle of changes this house has undergone. It was built in 1961 (my favorite style era) then everything was updated in the mid 1980s (my least favorite style era.) So here I am, scavenging and dragging back in all of these mid century relics to furnish my home more like a home would have been back then which the previous owner clearly tried so hard to more away from. But, this is the story for so many homes isn’t it? You can’t anticipate what the next owner will appreciate; you just have to make it right for you.
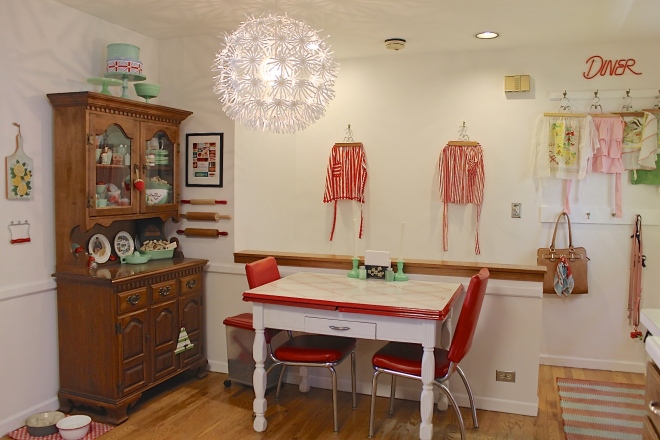
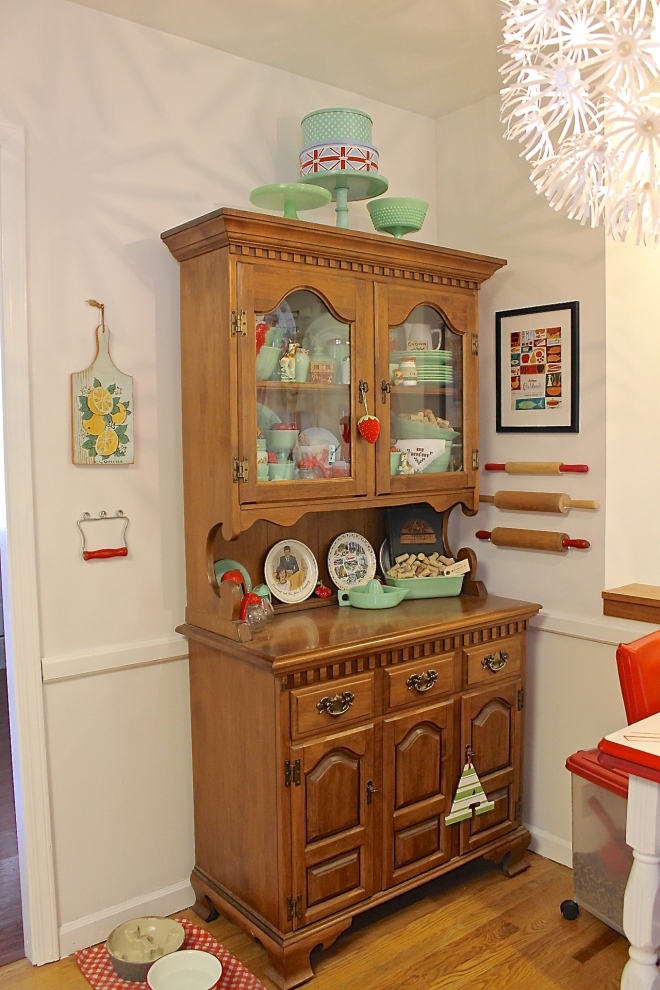
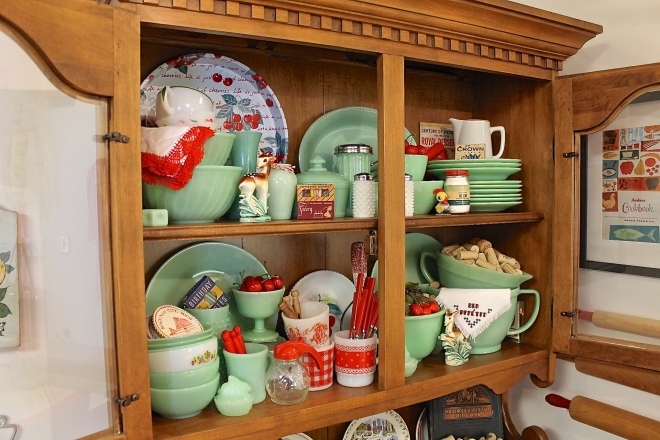
And here we have the holy grail. My Jadeite collection is the crown jewel of my kitchen. It is sprinkled all around the room, but the highest concentration of it resides safely nestled in my sturdy china hutch, which we inherited from Chris’ grandmother.
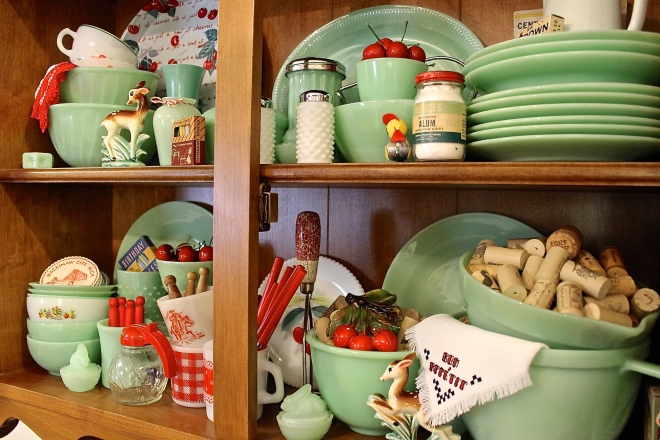
I have a healthy mix of old and new pieces, mostly old, which blend together quite well. I like having a variety of shapes and textures. The older pieces are definitely the most fun to find, because they have a history to them. The two swirl bowls in the upper left belonged to my grandparents. My mother grew up with them, I grew up with them, and now my grandmother passed them on to me so that I can continue to use them in my home. The smaller batter bowl on the bottom right (filled with corks) was a gift from Chris’ Father and his wife, who love to contribute to my collection. This piece in particular belonged to her grandmother.
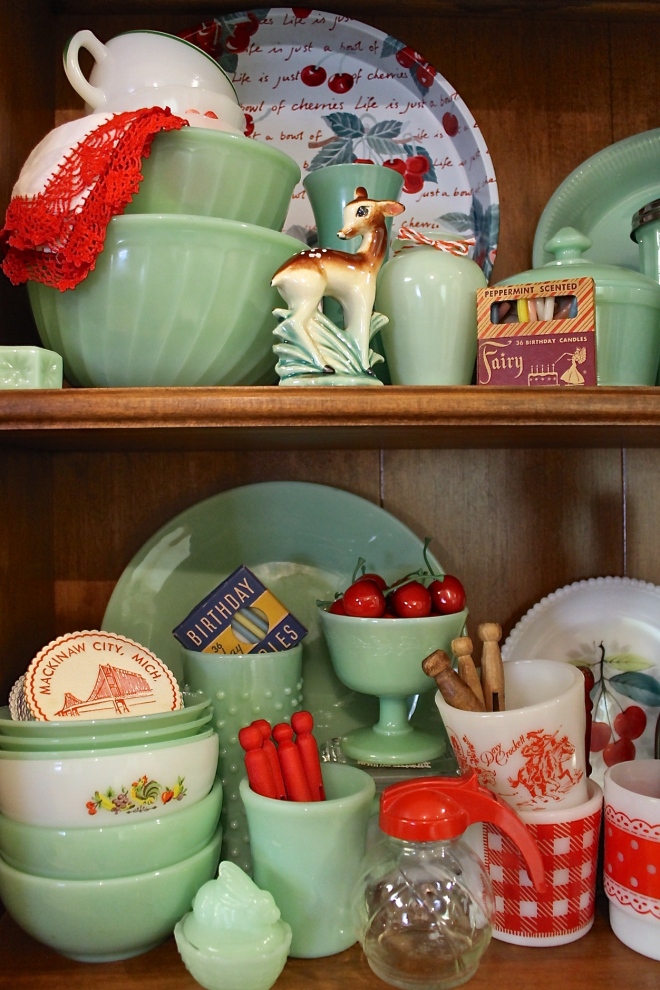
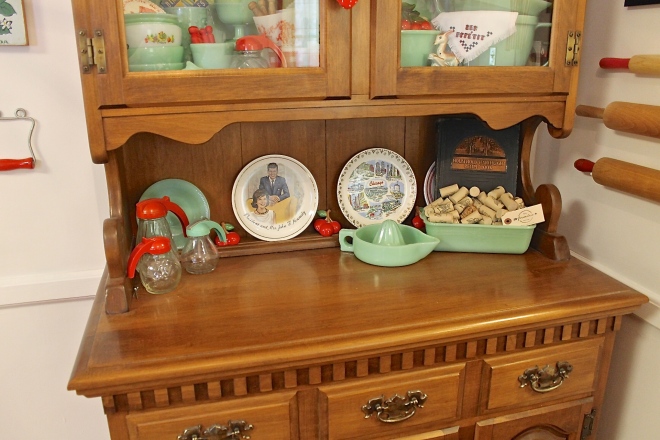
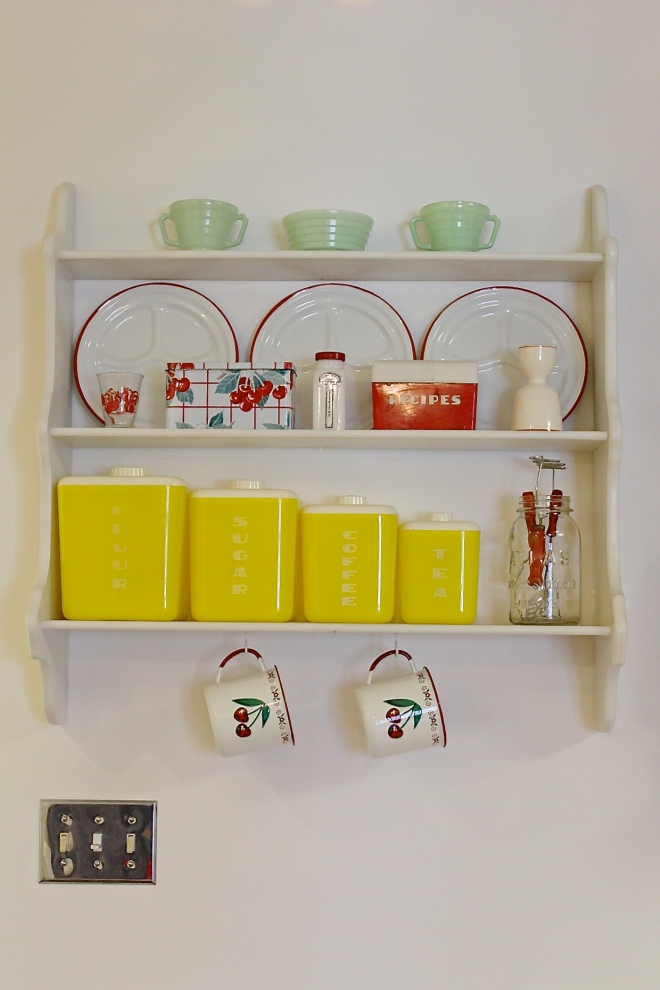
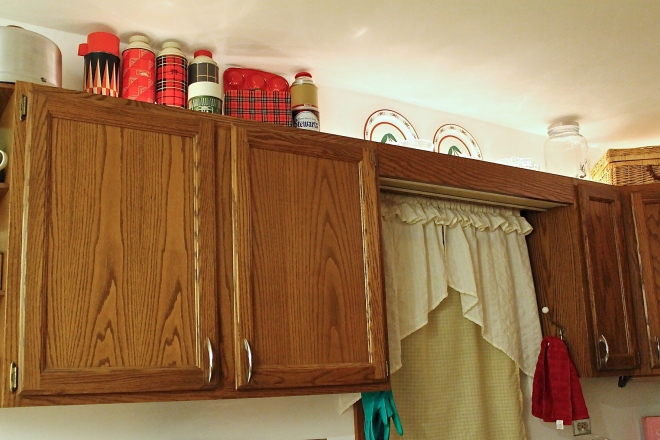
I keep a lot of other kitchen kitsch in amongst the Jadeite to add some color. One of my main goals during the kitchen refresh was to clear out a lot of my collection and adhere more strictly to a specific color palette of white, green and red with some yellow. I’ve been pretty good at sticking to it (with the one exception of the turquoise section above the cabinets. I just couldn’t resist!) My favorite motifs to add in are gingham and cherries. Both compliment the Jadeite well and are just so adorable!
I have a fixation with pitchers, especially glass ones. There just seem to be so many well designed ones out there, they become an art piece.
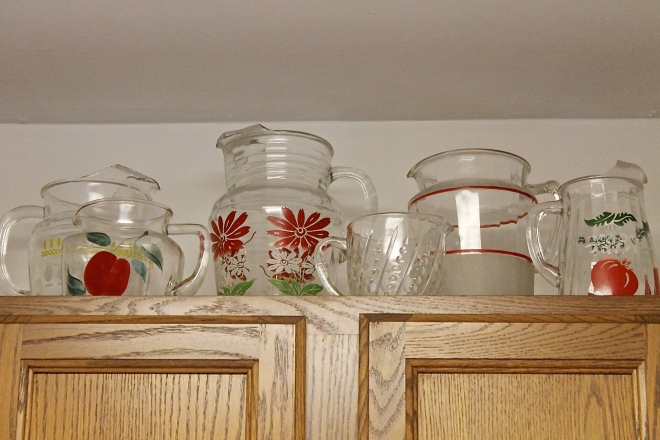
I think than any object can be an art piece if you showcase it the right way.
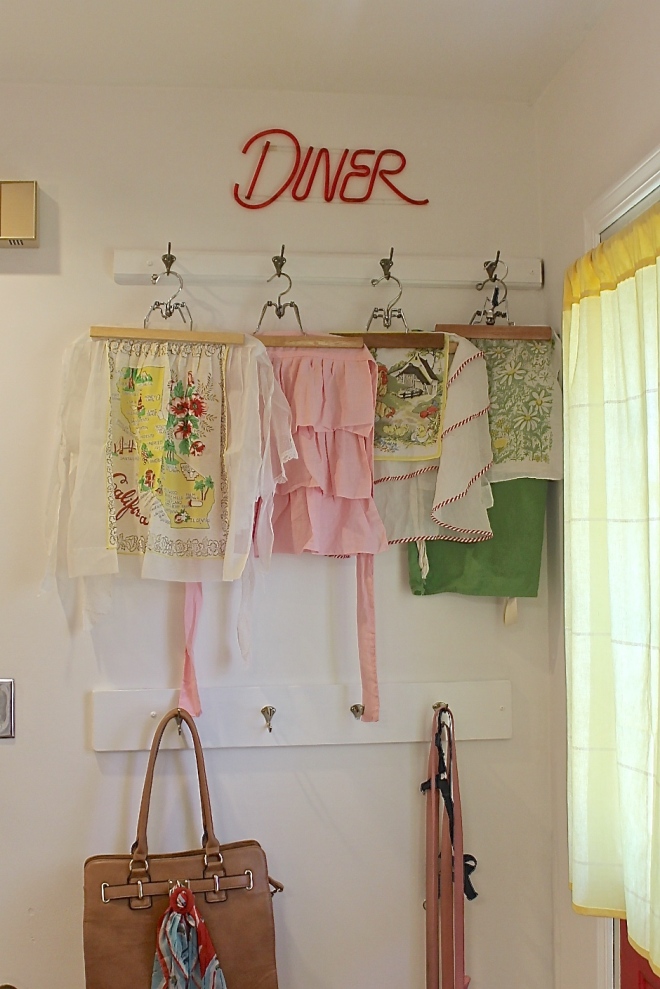
And I love my little apron nook. The diner sign really completes this spot. (No, it isn’t actual neon, just plastic.) It was left hanging in the kitchen of a home my friend bought, and she gifted it to me!
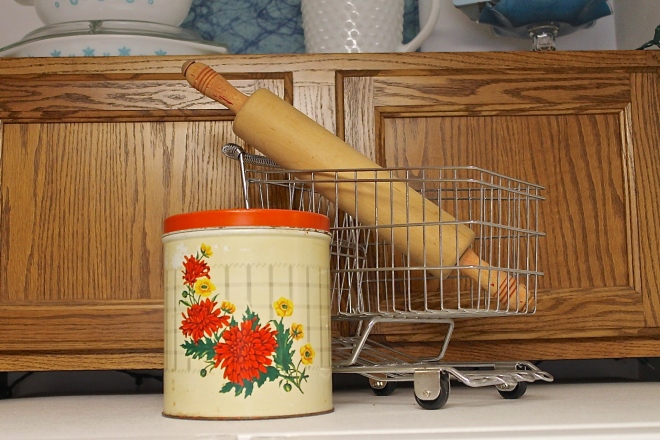
My sweet little shelf has a much bolder impact now that I thinned my collection to feature some repeating objects.
I thought it would be fun to add some string lights to the top of the cabinets for a little evening mood lighting. The glassware really catches the light and casts some interesting shadows.
And for those wondering about how difficult it is to keep an all white kitchen clean, I think it is much easier. Now I notice dirty areas right away, and spots wash off the walls without much scrubbing.
What a relief it is to check off yet another large home improvement project. I hope you enjoyed seeing the transformation as much as we have!


